

FINDING WOOD FOR YOUR BOW
When you are stranded and trying to survive, the first thing to look for is the wood for your bow. For reference, a bow is simply a large piece of wood with a string that can be tied between both ends. Naturally, this string will be the catalyst that drives an arrow to its intended target.
When looking for a great piece of wood, you will want to ensure that the limb of the bow – the section of the bow that goes from the tip to the handle – must be able to bend equally over its length.
As such, you are going to be looking for wood that is flexible and can snap back into position rapidly. While the wood you select is essential, you may not have the field knowledge to know which types of wood are in your area. If not, you can do a simple test to determine whether the wood you have found is a good choice for your survival bow. Look for a branch that is about the size of your little finger.
If you are near a tree, this should not be hard to find. Once you have found it, bend the branch and let it snap back. If it snaps back into position quickly, it is likely that you have found a great wood for your survival bow, but there are a couple more tests to perform just to be sure. Next, bend the small stick into a shape that resembles the letter C. It should be strong enough to avoid breaking. If it is, do a final test by breaking the stick. If it snaps, this is a poor quality wood that will not make an ideal bow. Ideally, it will form a fracture that resists breaking entirely, and this will let you know you have found the right wood for a bow. Once you know this wood will work, look for a sapling of this type of tree, if one is nearby.

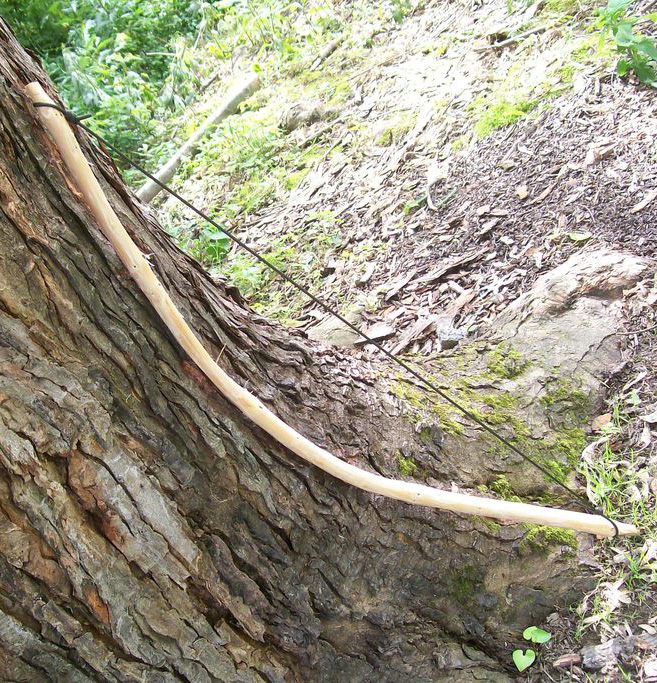
This is going to serve as the piece of wood you will use to create your survival bow. Ideally, it will have a gradual taper from one end to the other one, and it is best to find a sapling that lacks excessive knots and branches. Now that you have found the ideal stave – the piece of wood that your bow will be made from – it will need to be modified in order to ensure that both limbs bend equally. To modify your bow, locate the middle of your stave and mark where your bow’s handle should be.
On the side of the handle, whittle wood from the bow’s belly (the side of the bow that will be facing you during use).
Taper the belly of the bow gradually so that you can avoid cutting into the back of the bow (the side that faces opposite of you). If you do not avoid cutting into the back of the bow, the bow is more likely to splinter when it is put under tension, so it is crucial to taper the belly carefully. Next, you will want to test how well the limbs bend.
So, place one of the bow’s tips on the ground, pushing into the handle with one hand and holding the other tip of the bow in your other hand. Next, flip the bow over and do the same process to test the other limb. If you did the job well, both limbs should bend equally.
Now that you have a bow that is constructed well, cut two notches on either side of the bow, whichever you prefer.
These notches will be cut at a 45 degree angle, ultimately pointing toward the handle. The notches should also be deep enough to accept the bow string since these notches will keep the string in place. If you have followed these steps, you have now crafted a great survival bow. The following tips will help you effectively create your bow’s cord and arrows.